
What We Really Think About Canva
A few decades ago, graphic design software was expensive and you needed to take advanced classes to know how to use it. Now, there is a plethora of web-based software that allows you to put graphics together for simple projects. Canva leads the pack, but there are many other tools like Visme, Stencil, and PicMonkey, just to name a few.

When Canva first came out, there was a lot of debate amongst designers about if it were kosher to use. But, just like any tool, we think there’s a time and place to use it! There are still a lot of naysayers who think Canva is bad for business — whether that’s yours or theirs, it’s not clear ;)
While we will always emphasize the value of custom branding and custom design as paramount for a brand you can own and that sets you apart, you can certainly leverage an easy-to-use software like Canva to implement those custom assets! In this article, we’ll explain seven pros to using Canva with three caveats for ways you should NEVER use Canva for your business.
But first, let’s explore the most common Canva alternatives for graphic design and custom branding. Canva is certainly not the only tool like this on the market.
Canva Alternatives for Custom Branding:
Known for interactive presentations, infographics, and visual content.
Offers templates and a wide range of data visualization tools.
Suitable for creating engaging multimedia content for various purposes.
Focuses on social media graphics, marketing visuals, and blog images.
Offers a simple and intuitive interface for quick design creation.
Known for its extensive library of stock photos and graphics.
Specializes in photo editing, graphic design, and collage-making.
Provides photo retouching tools, templates, and design elements.
Popular for its user-friendly interface and comprehensive editing features.
Emphasizes fast and easy graphic design for social media and marketing.
Offers templates, graphics, and customizable elements for quick creations.
Suitable for beginners and small businesses needing quick visual content.
Focuses on creating infographics, reports, and data visualizations.
Provides customizable templates and tools for storytelling through visuals.
Suitable for businesses looking to communicate complex data effectively.
Offers a variety of templates for social media, print, and web graphics.
Features a user-friendly interface for quick design customization.
Known for its collaborative design capabilities.
Specializes in creating infographics, presentations, and reports.
Provides drag-and-drop tools and customizable templates.
Popular among educators, marketers, and content creators.
An online photo editor with both basic and advanced editing capabilities.
Offers filters, effects, and tools for image enhancement and manipulation.
Suitable for quick photo editing tasks without the need for complex software.
Offers templates for various design projects, including social media, marketing, and print materials.
Provides a user-friendly interface with editing tools and design assets.
Known for its customization options and collaboration features.
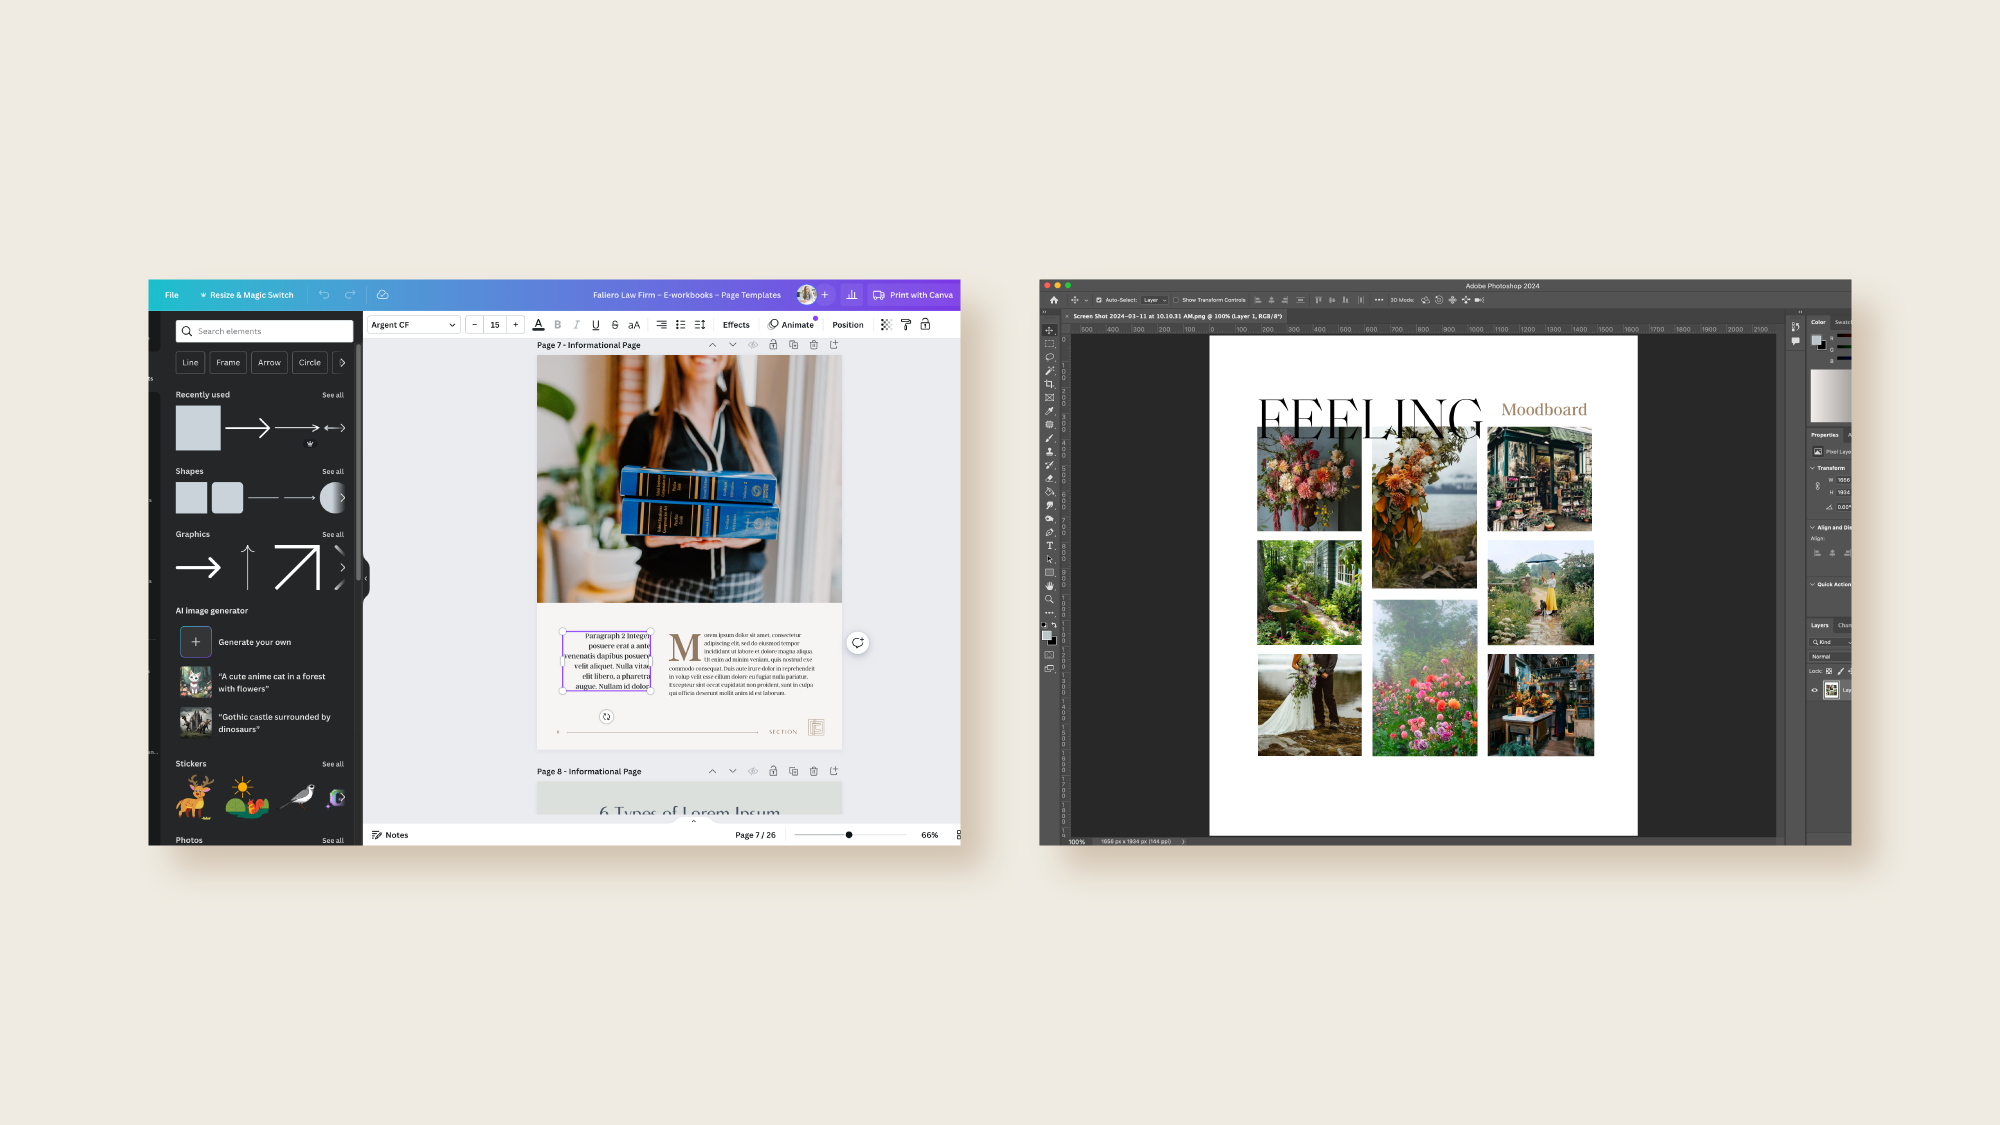
These alternatives provide diverse features, catering to different design needs, skill levels, and preferences. But what about Canva (or tools like it) versus professional design software like Adobe Photoshop, Adobe Illustrator, and Affinity Designer?
Canva vs. Adobe Photoshop
Ease of Use:
Canva: User-friendly interface, drag-and-drop functionality.
Photoshop: Steeper learning curve, professional-grade software.
Templates and Pre-made Elements:
Canva: Extensive library of templates, graphics, and fonts.
Photoshop: Provides flexibility for custom designs but with fewer pre-made elements.
Collaboration and Sharing:
Canva: Collaboration features, easy sharing with team members.
Photoshop: Limited collaboration features, often used for individual projects.
Cost:
Canva: Offers free and subscription-based plans, affordable for various users.
Photoshop: Requires a paid subscription, higher cost, part of Adobe Creative Cloud.
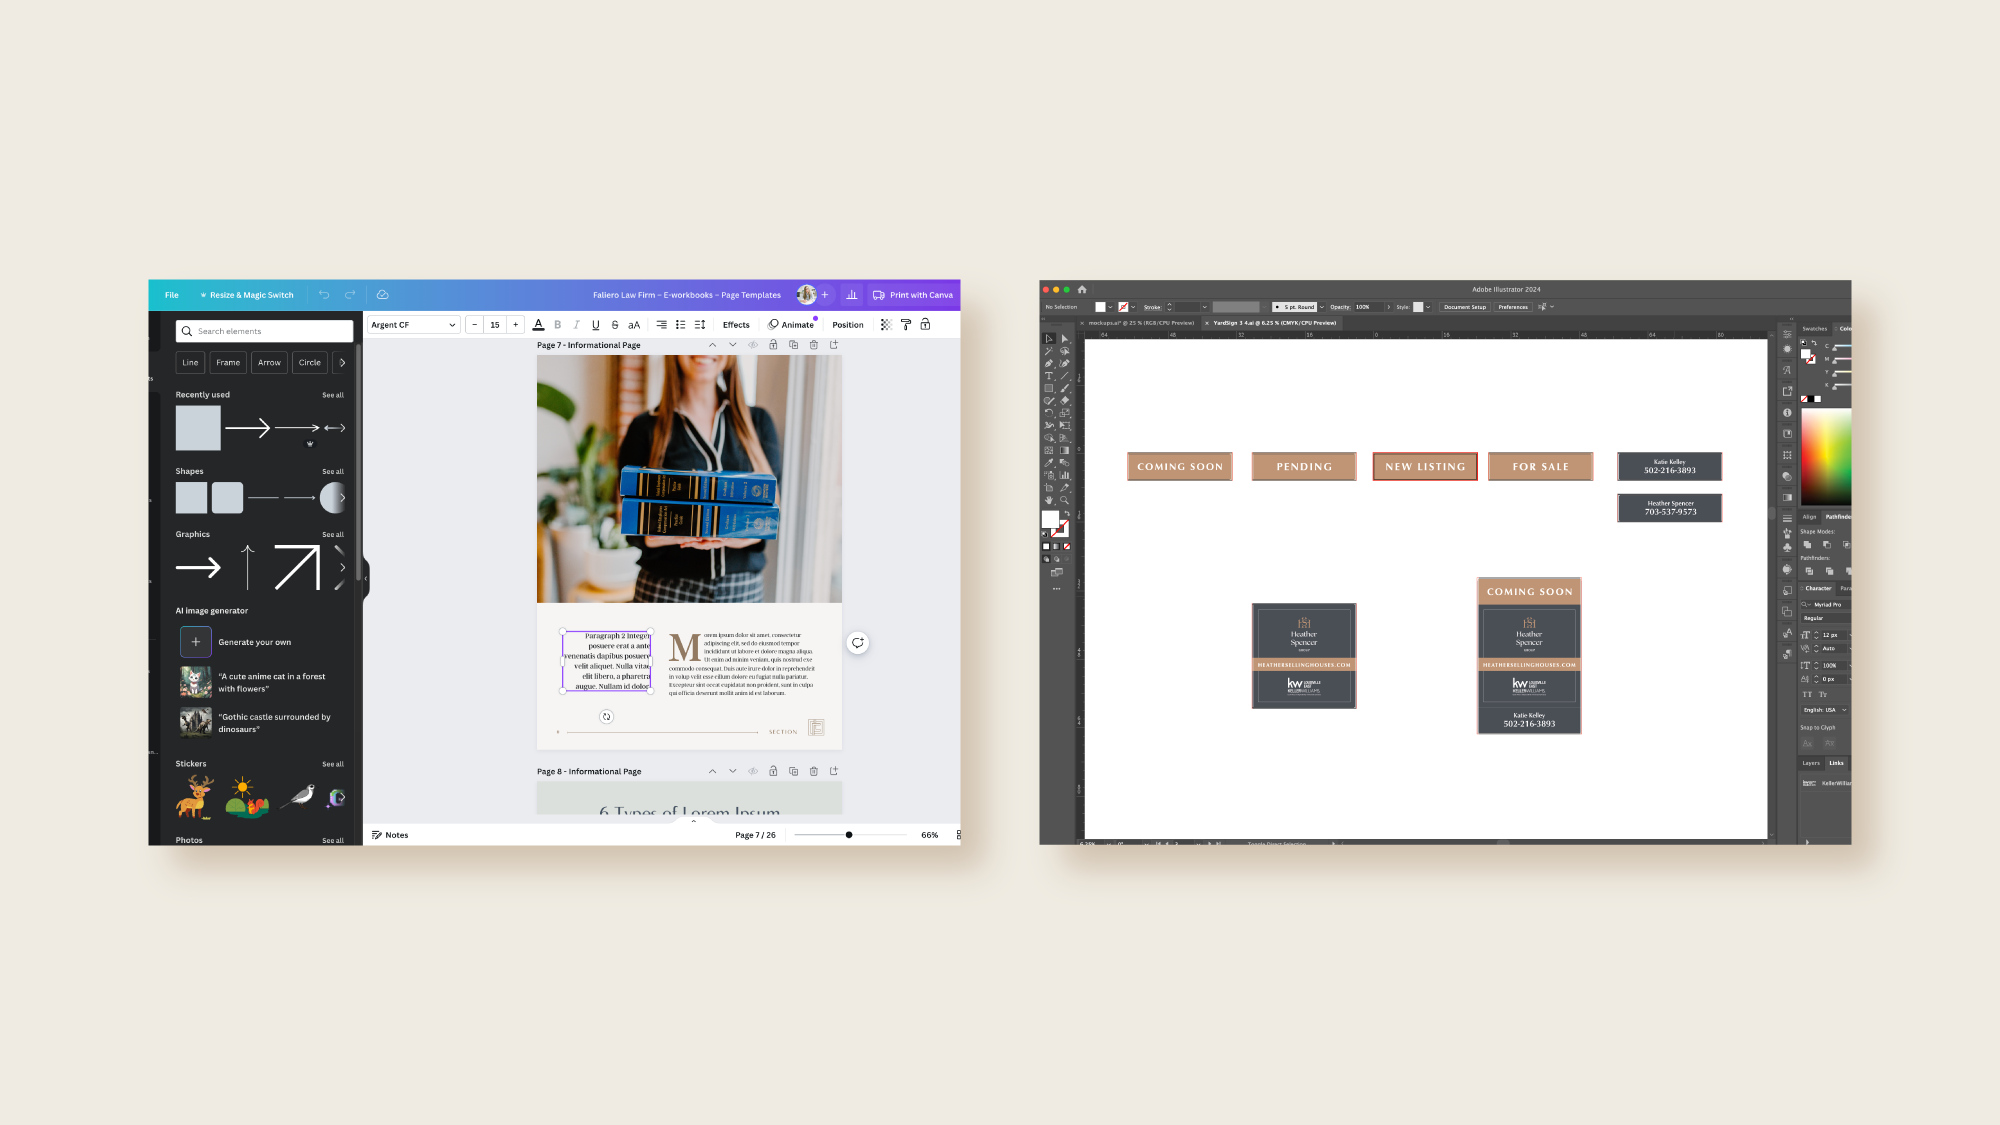
Canva vs. Adobe Illustrator:
Vector Graphics and Illustrations:
Canva: Simplified tools for vector-based designs.
Illustrator: Robust tools for creating and editing intricate vector graphics.
Typography and Text Handling:
Canva: User-friendly text manipulation, diverse font library.
Illustrator: Advanced text manipulation and typography control.
Learning Curve:
Canva: Easy to learn for beginners.
Illustrator: Higher learning curve, more suited for experienced designers.
Integration and Export Options:
Canva: Integrates with various platforms, and simplified export options.
Illustrator: Offers extensive integration with other Adobe tools, and multiple export formats.
Canva vs. Affinity Designer:
Pricing Model:
Canva: Freemium model with additional paid features.
Affinity Designer: One-time purchase with no subscription model.
Professional Capabilities:
Canva: Geared towards beginners and small businesses.
Affinity Designer: Professional-grade features suitable for advanced users and larger projects.
Compatibility:
Canva: Web-based tool, accessible across devices.
Affinity Designer: Desktop software that requires installation, but offers offline functionality.
Export Options and File Formats:
Canva: Simplified export options, limited file formats.
Affinity Designer: Offers a wide range of export formats and options for professional printing.
You can see that the products are quite different as far as advanced, complex features go. But, as a business owner or marketer, you may not need those features.
Read on because there are so many great ways you can use Canva for your business.
The pros of Canva from a graphic designer —
Seven reasons why we love it when our clients want to use Canva to help implement custom branding.
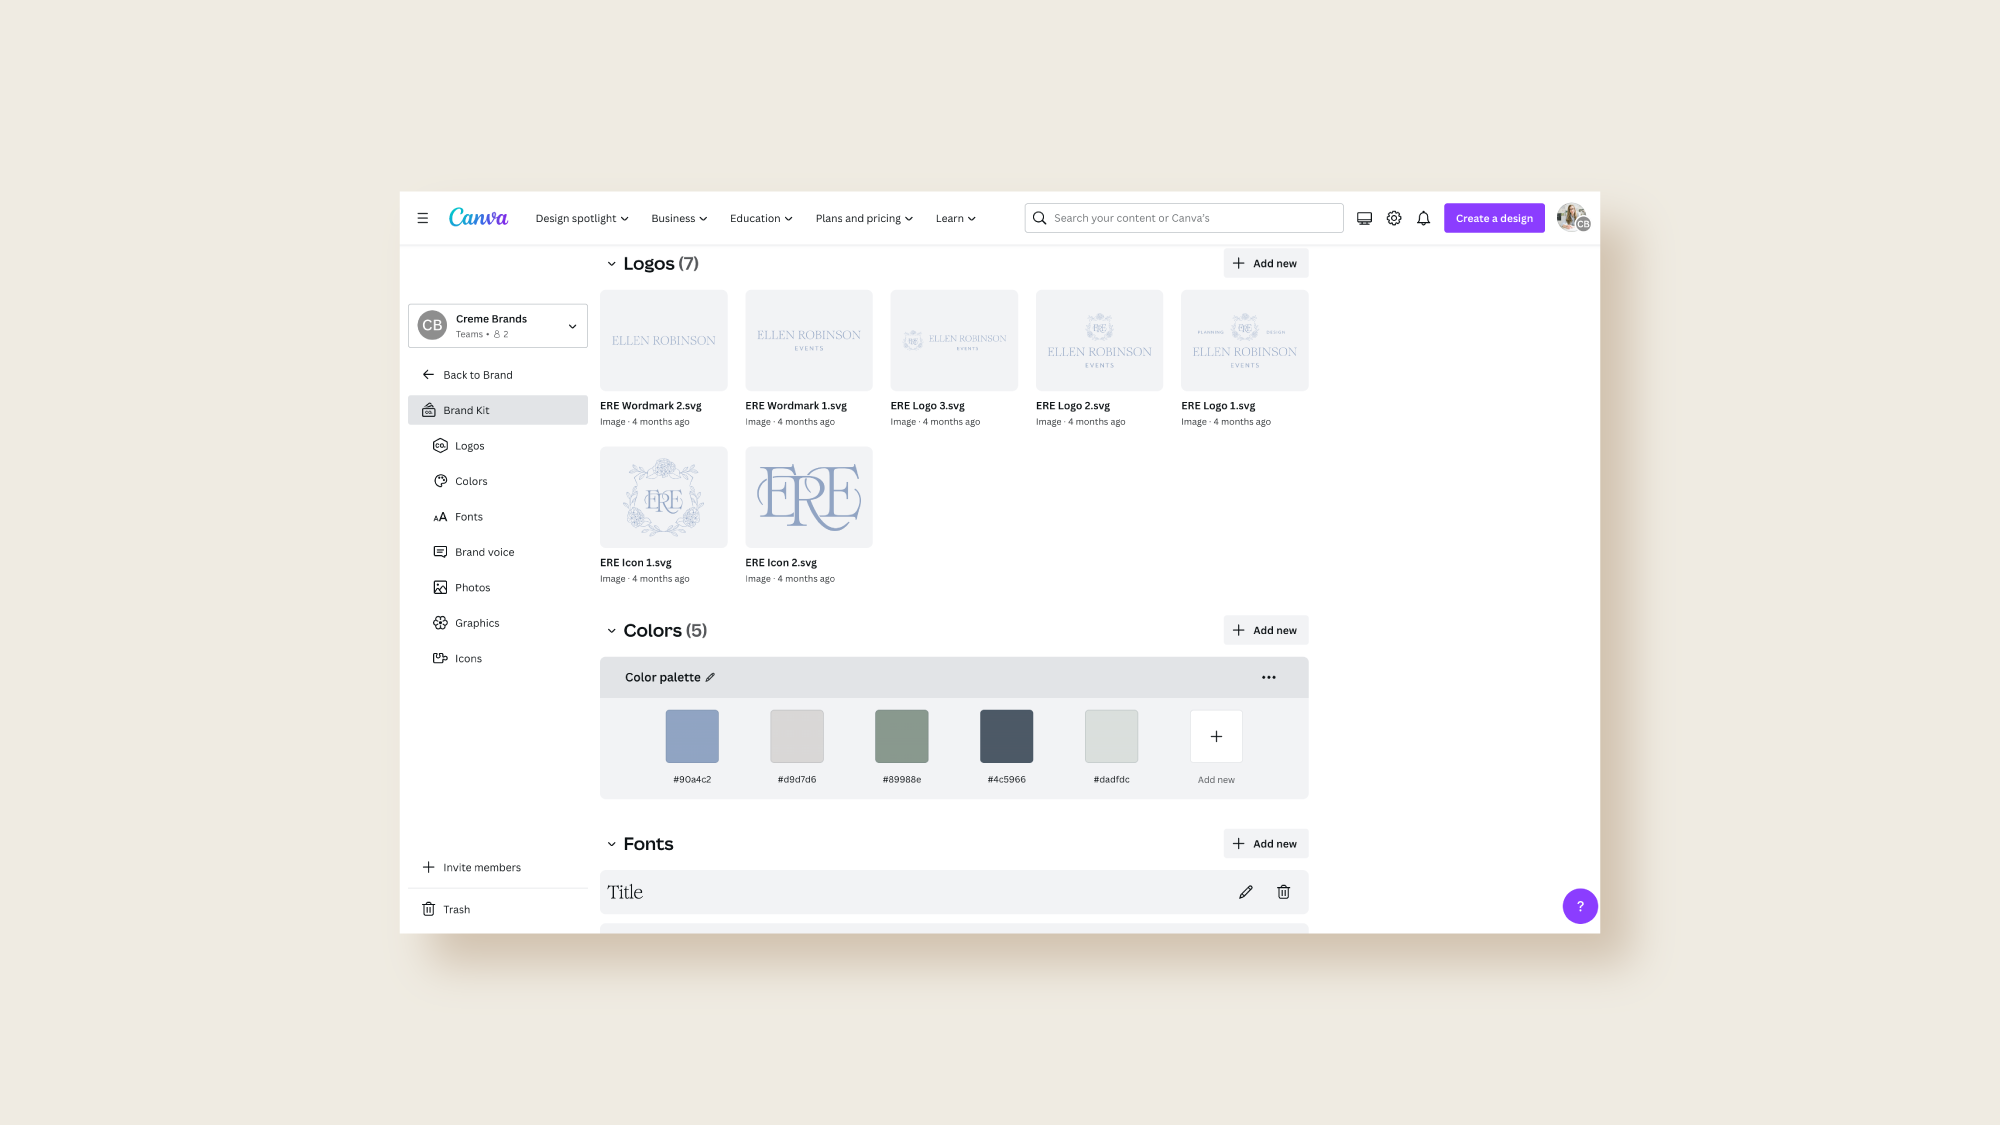
1. Canva offers the ability to set up your brand kit.
Canva has a powerful feature that allows us to go into a client’s Canva account upon request to set up their exact brand color palette and brand font choices, and upload all of the various custom brand assets we've created for them. Building out a "brand kit" for our clients in Canva, makes it easy for them to create and use their brand assets going forward by creating new files on Canva or tailoring existing templates to match their custom brand. Check out our article on the components of custom branding to learn more about each of the elements of a brand kit.

2. Customizing social media graphics is excellent with Canva
Canva is an excellent tool for creating social media graphics for your business on the fly. They even have a mobile app for on-the-go editing! Our clients love having us create custom graphic design templates for them in Canva. This makes it easy for them to go in and put in their wording and images to keep their social media fresh and up-to-date with little effort. By leveraging the custom design templates we provide them, their social media still looks on brand, polished, and stands out.
PRO TIP:
Use graphics to consistently market your business on social media. Here are a few of our favorite types of graphics to try.
A review or testimonial graphic — A graphic with a spot to show off a short and sweet review is a great addition to your marketing rotation.
A multi-slide post carousel graphic — A spot you can easily add in the step-by-step of your process or provide short tips in a numeric format that’s easy to digest.
A welcome graphic or client spotlight graphic — Make your social media more engaging with a graphic that introduces a client. They may even wish to reshare on their feed to help boost your business.
A quote or inspirational graphic — A graphic where you can plugin insight from the founder or an inspirational quote can be a great addition to your content.
3. Canva is a great software for simple pricing brochures and service guides.
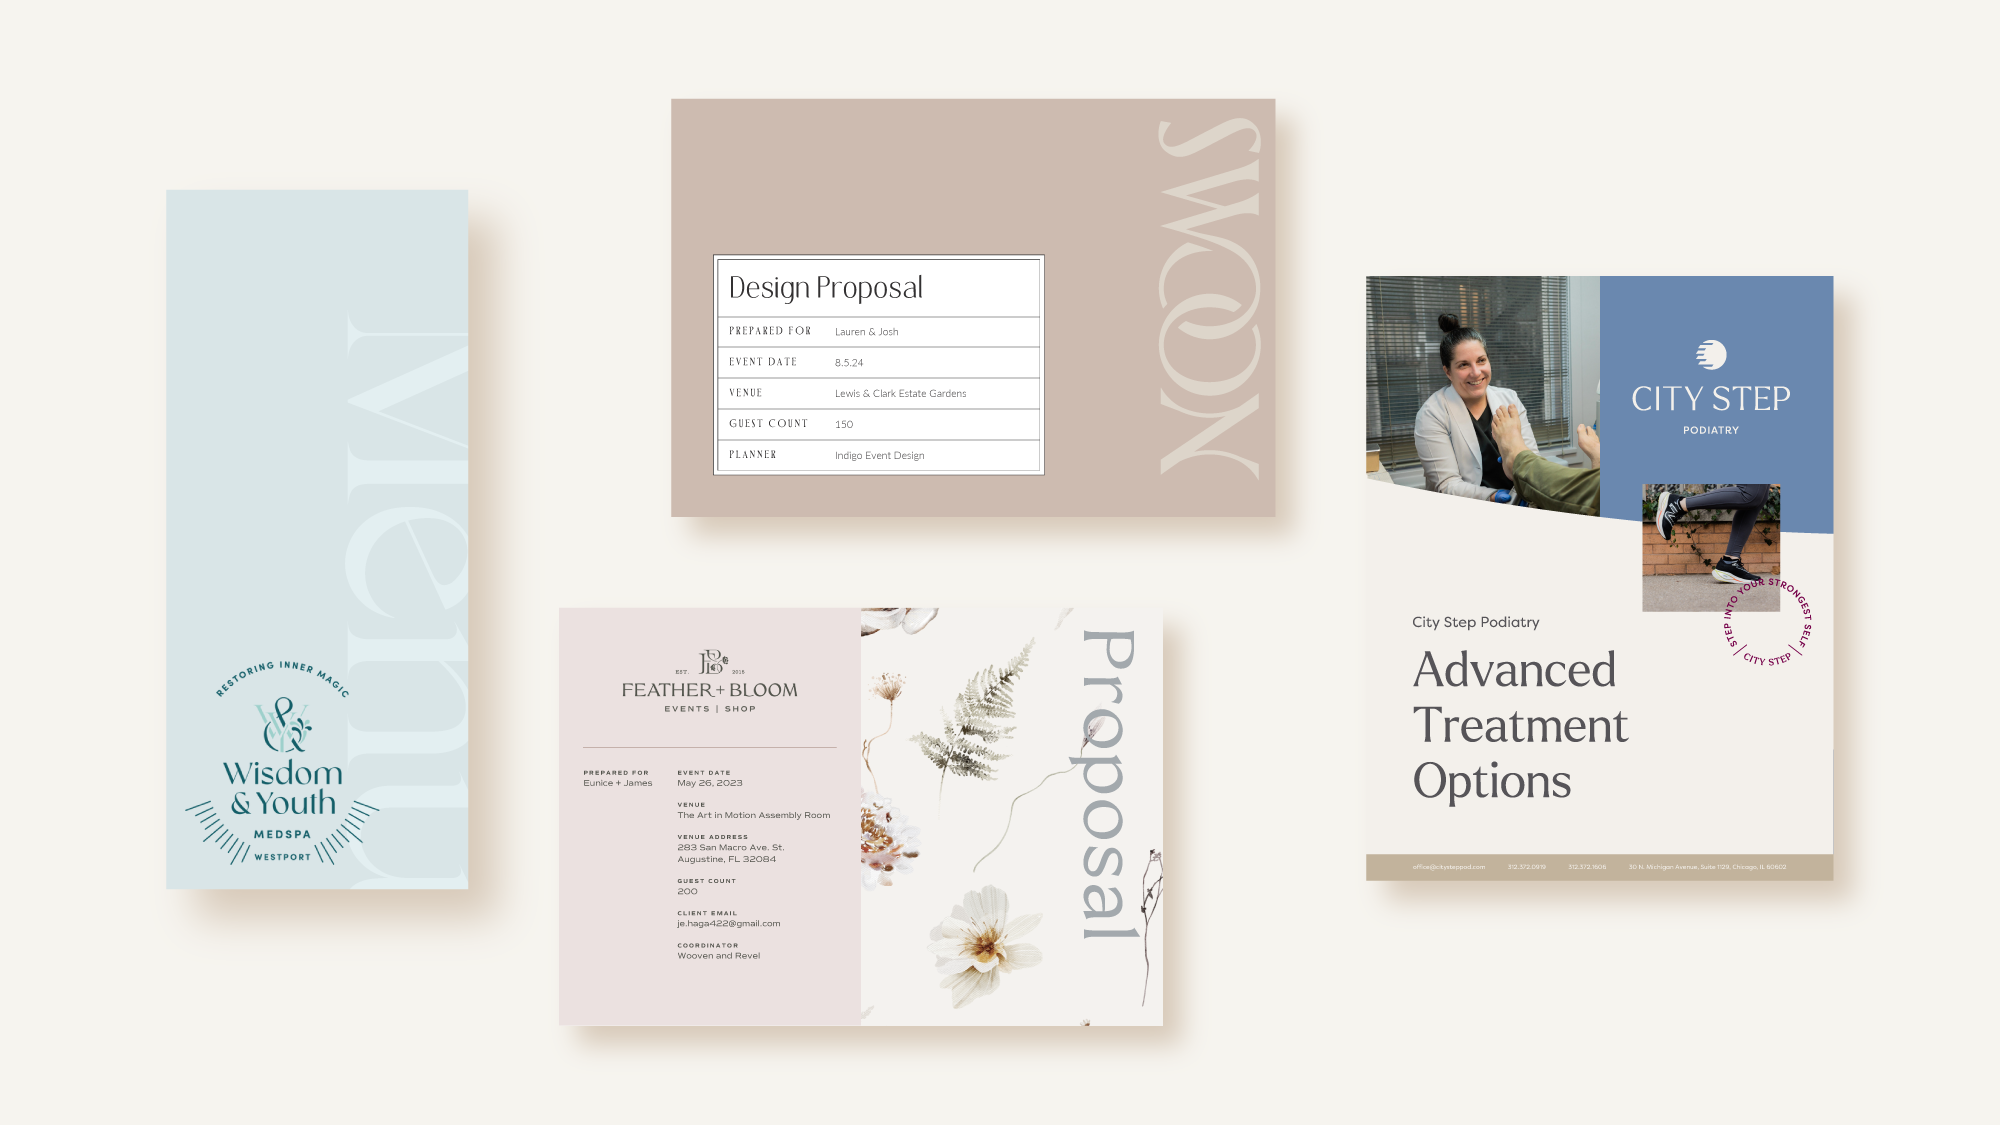
In the last 10 years in business, one of our most requested custom design items is a pricing PDF or a services guide our service-provider clients can send to prospective clients before a call or present during a consultation. We’ve created pricing list tri-fold brochures for Medspas, service lists for podiatrists, packages guide for photographers, and custom proposal templates for wedding designers and planners. While we created these in Indesign before Canva became more common, we have found clients love the ease of updating these PDFs. Pricing and offerings scope frequently change, and Canva makes it easy to make these updates in mere seconds.
PRO TIP:
Make sure your informational piece is to the point while effectively selling what you do. Consider including the following in your guide:
Introduction or overview note
Meet the team or about
Services Overview
List of all packages
Testimonial/review or case study
Images that show off your products or services
Call to action page with next steps to book
PRO TIP:
Canva even makes it easy to send your custom PDF as a hyperlink versus an attachment. If you have a larger file or are worried about files bouncing, this is a great feature and creates a really beautiful, in-browser presentation for your client.
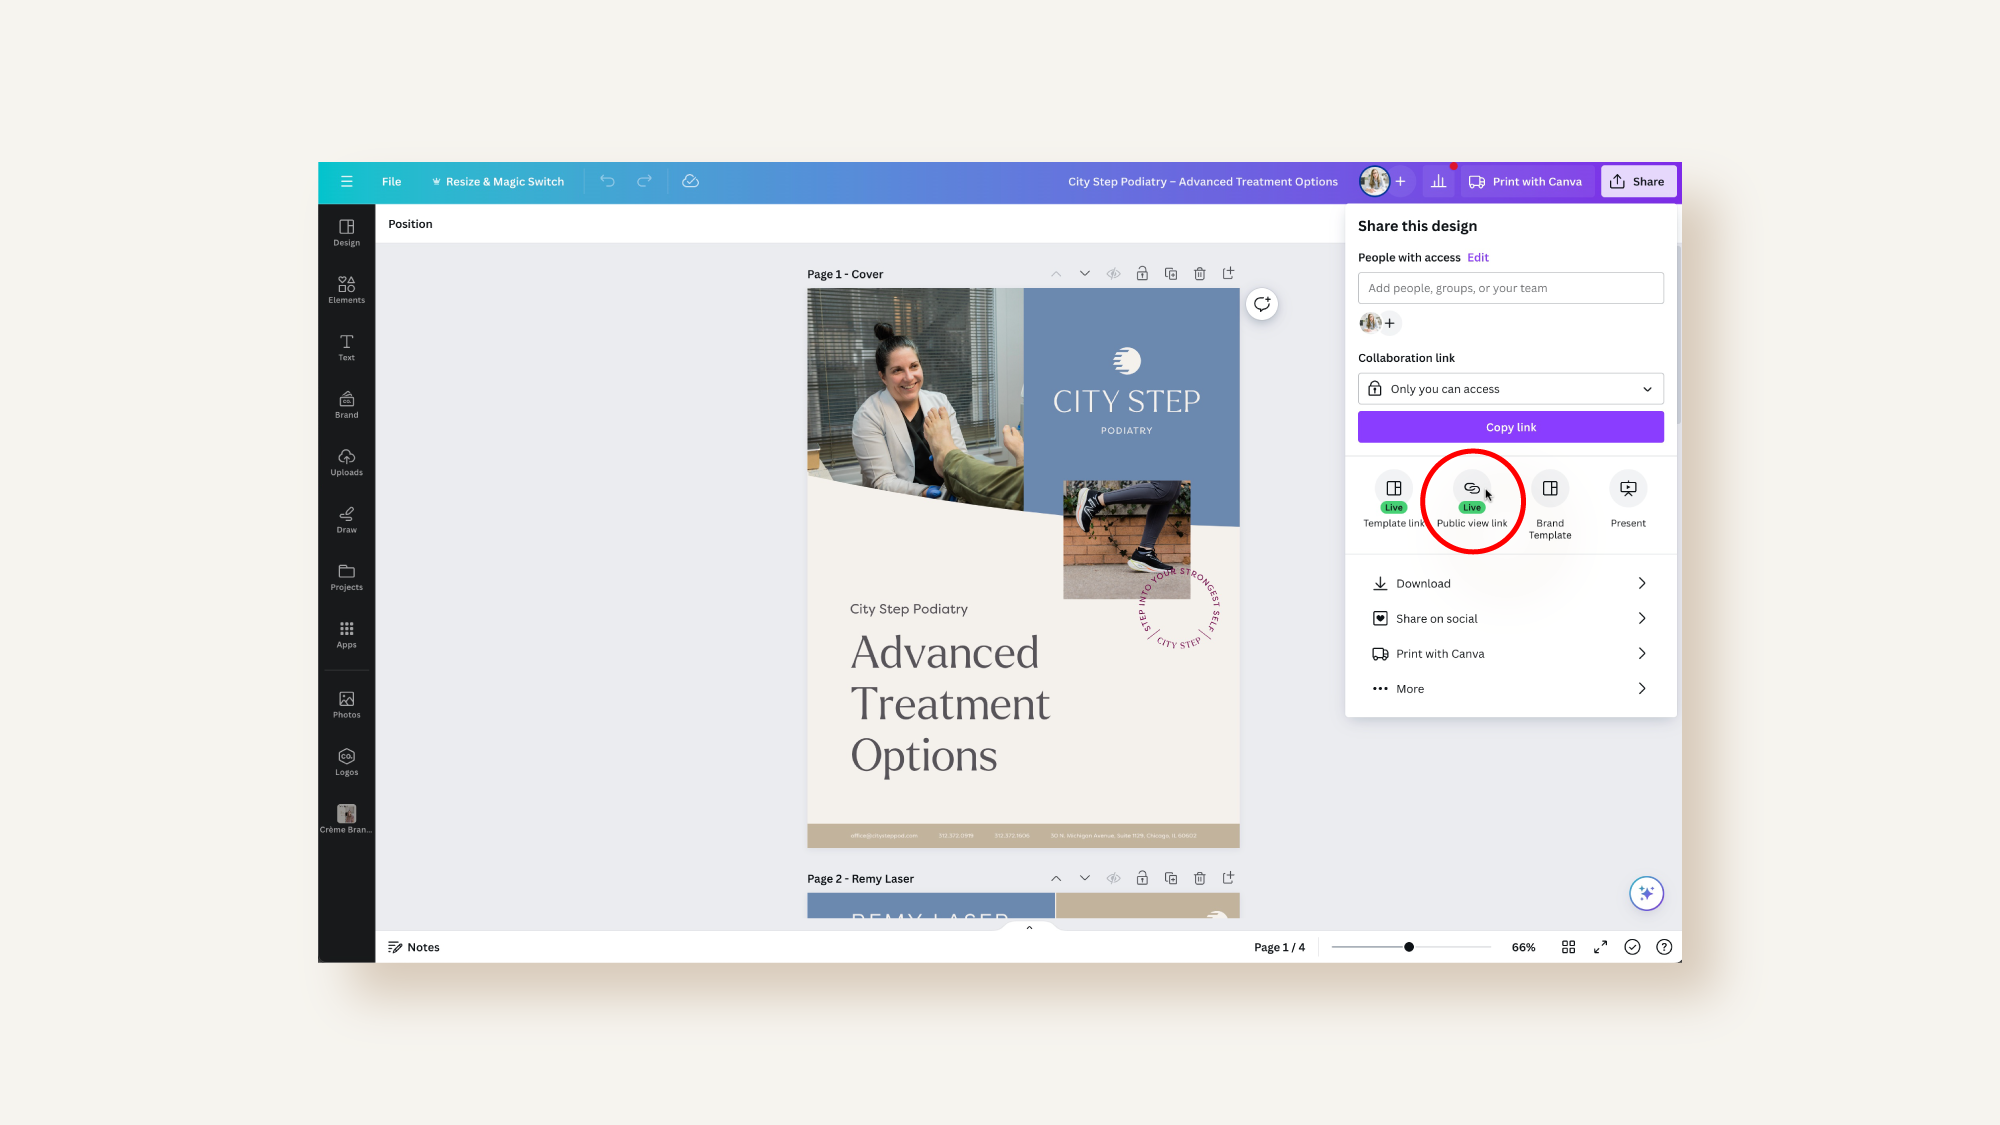
To create a hyperlink for your custom PDF:
Click on Share in the top right.
Select Public view link.
Copy the hyperlink and start sharing your PDF!
4. Canva makes it possible to easily keep simple collateral up to date.
We love that there is a low barrier to entry for our clients to make simple edits to their PDFs, brochures, and business cards, so we’re happy to use Canva upon request for these simple types of projects. Want to change out an image? Upload a new one and swap it out. Need to change a price from $150 to $500? Just type in the new number and your formatting will be preserved!
5. Canva has basic print file features.
Canva does have the option to export print-ready files. Well there are some resolution limitations, there are options for exporting commonly printed files such as business cards, postcards, and flyers. One other limitation Canva has for prints is that you can't work with exact Pantone colors within the platform. So, if you need a very precise color match setting up your file and Canva will be limited.
PRO TIP: Step-by-Step Guide to Exporting Print Files in Canva
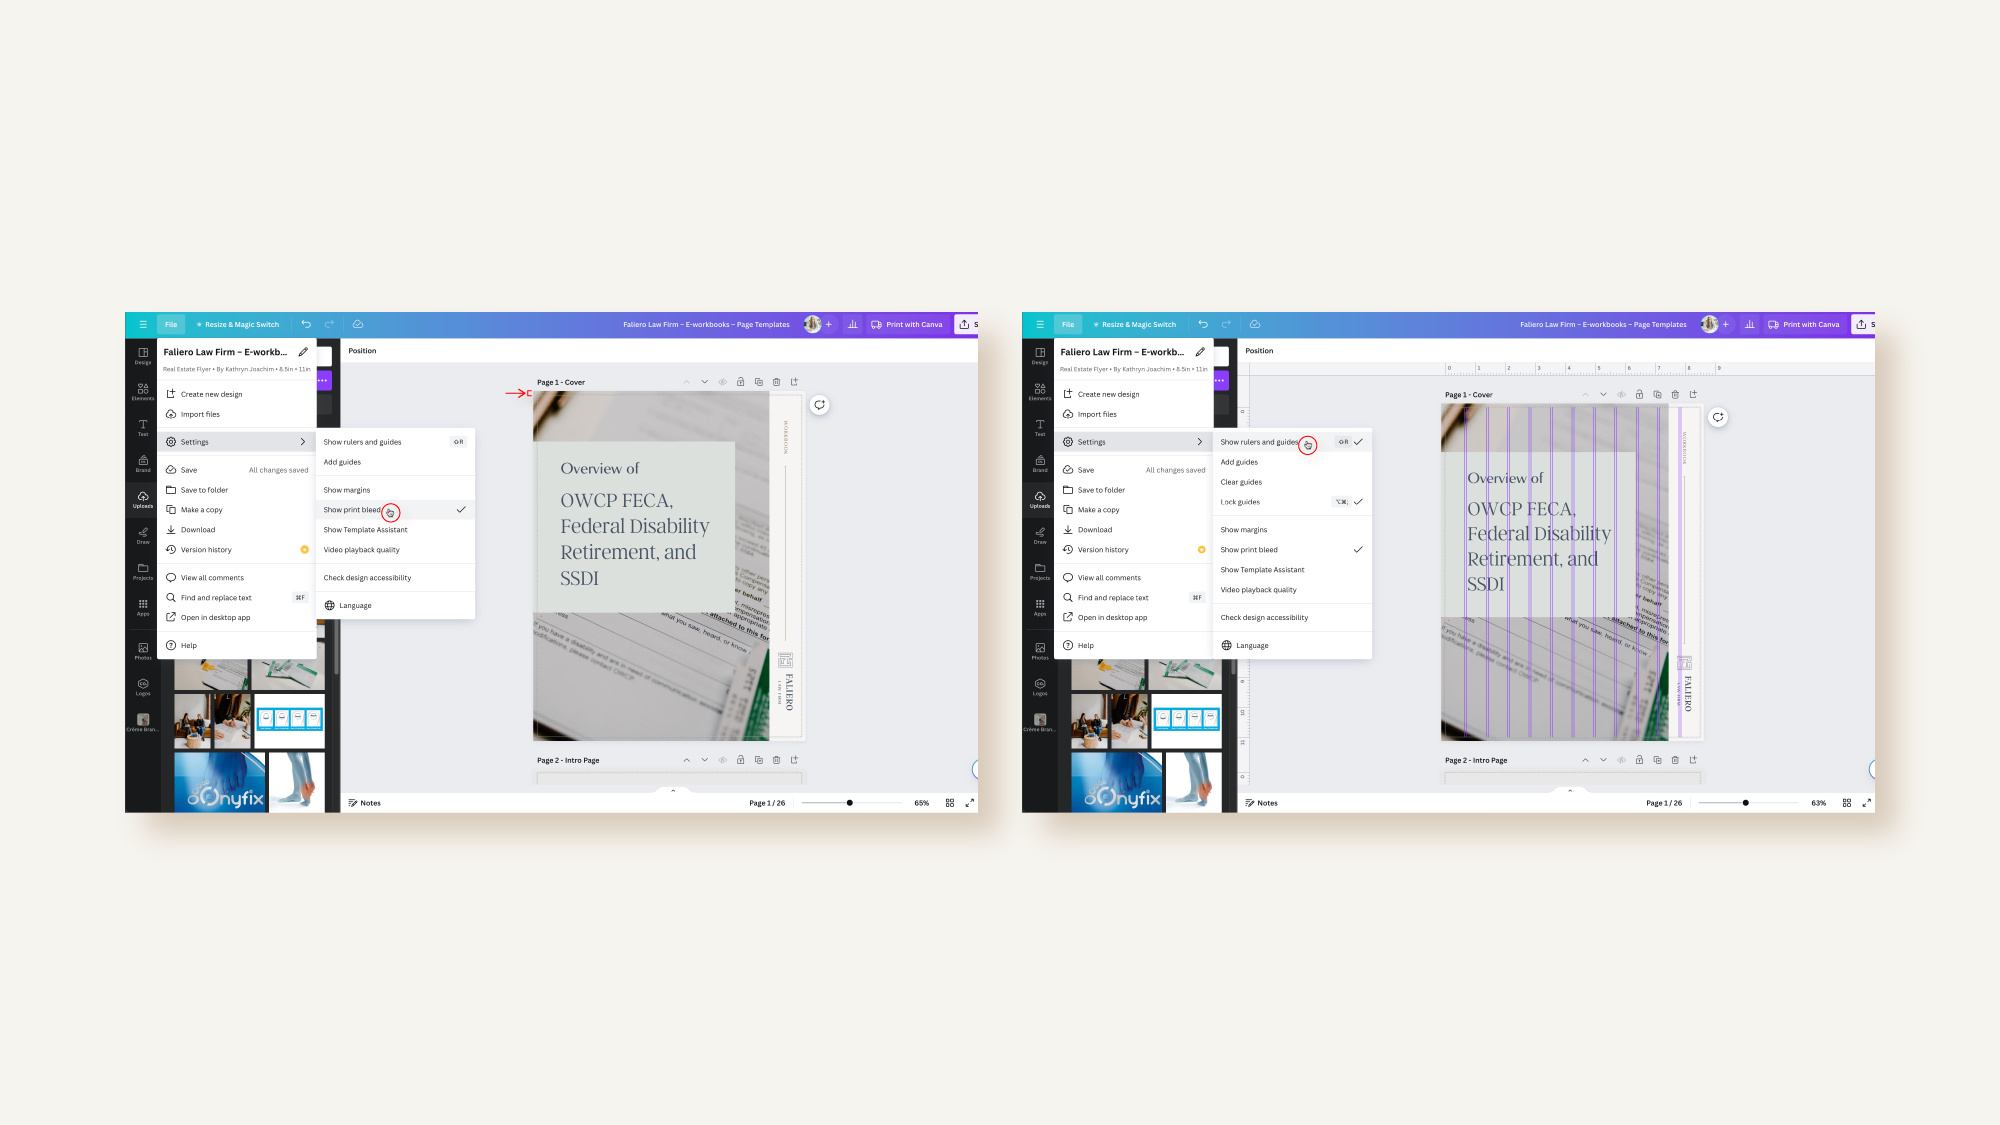
Set up your bleed and printing guides
In order to print graphics that extend all the way to the edge of the paper, your project will be printed with an extra 0.125” overhang, referred to as bleed, that will be trimmed off to give the appearance that the image is “bleeding” off the edge of the paper.
To set up bleeds in Canva:
Click File.
Select Settings.
Then choose Show print bleed.
An extra 0.125” border will show around your file. Make sure you drag all elements that touch the edge of your page all the way to the edge of the bleeds.
You may also wish to set up printing guides:
Click File.
Select Settings.
Then choose Show rulers and guides.
Use the guides that show up to keep everything in alignment. You can also add new guides by clicking on the rulers and dragging towards the page. This can be helpful to make sure your page contents aren’t sitting too close to the edge of the page that they risk getting trimmed off along with the bleed. It’s standard to keep any important content at least 0.125” away from the page edge, but you should consult your printer about the safe area for your project.
How to export your Canva files for print:
Now that we’ve set everything up and you’ve finished your design, it’s time to export as a print-ready PDF to send off to the press!
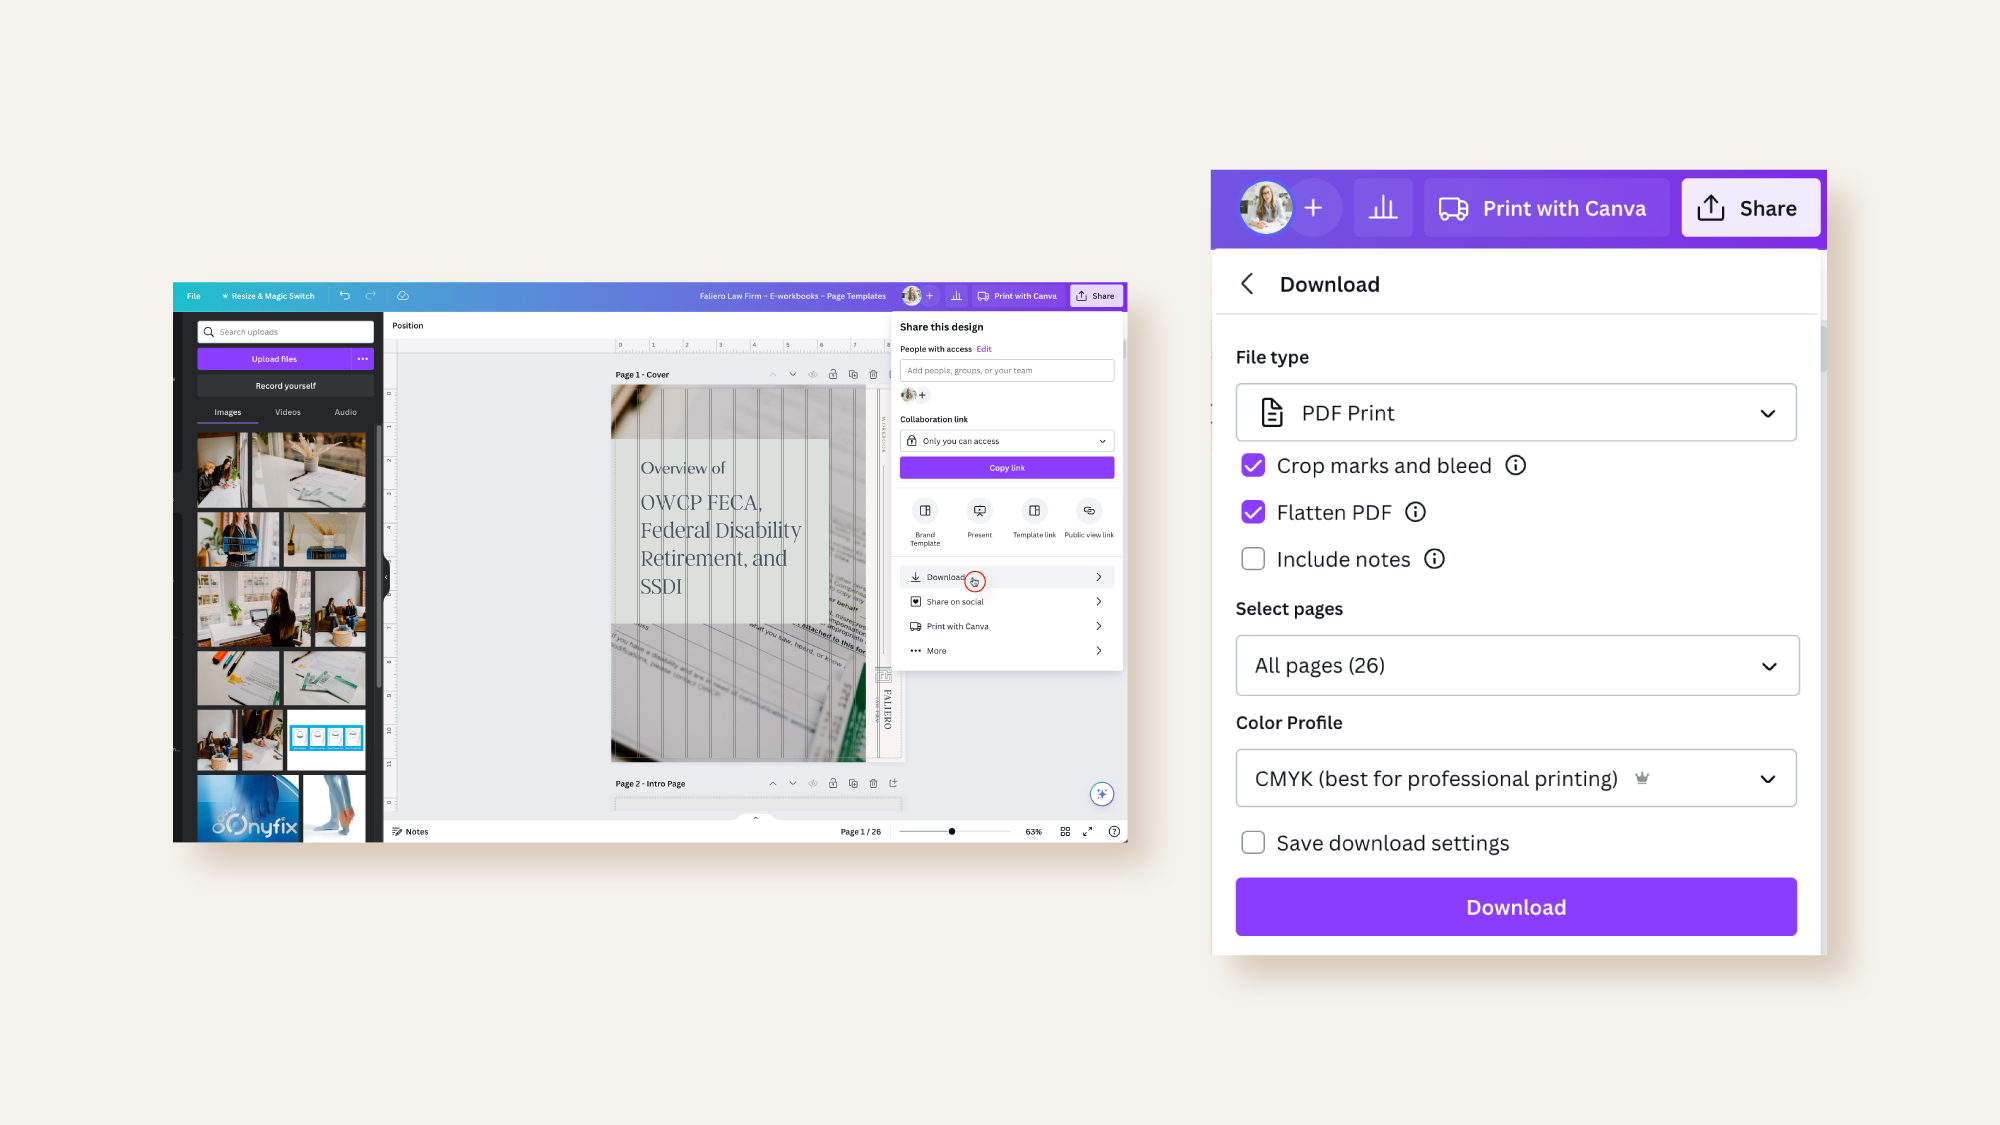
To export a file for print in Canva:
Click on Share in the top right.
Select Download.
Under File type, choose PDF Print.
Check off Crop marks and bleed and Flatten PDF.
Under select page, choose All pages.
Under Color Profile, choose CMYK (best for professional printing).
Click Download.
5. Canva is simple to learn how to use.
We love it when clients want to use Canva in conjunction with the custom branding files we create for them. It means the chances of them having a consistent, cohesive brand are much higher! It’s simple for them to use their brand and put it to work for their business. There is no software to download, and the website is easy to learn with lots of tutorials available.
6. Canva is low-cost.
It simply doesn’t make sense for most of our clients to pay for a monthly Adobe subscription to Photoshop, Indesign, and Illustrator. While we love using these programs — everyone on our team has taken extensive training and courses on them – you shouldn’t need a design degree to update your business collateral!
Why Canva is not suitable for logo design and other limitations, according to a designer —
Here are three ways you should NEVER use Canva, no matter what. These are times not only that a design snob is saying it’s not the best, but it’s likely to create some potentially costly issues for your business.
1. NEVER use Canva for logo design.
Never use Canva to create your logo. First off, it’s going to likely be a raster-based file as Canva is limited on vector files (i.e. infinitely scalable file types). Trust us, you’re going to be super limited. Second, you won’t own your logo. Keep in mind that the cute designs and clip art library you see in Canva cannot be your business’s intellectual property. You won’t own that little logo, and it will look like everyone else’s who made the same mistake of whipping up their logo on Canva. Read more about the limitations of premade logos in our article all about why Canva doesn’t cut it for logo designs.
2. Don’t use Canva for large or ultra high-res printing specs.
It’s not possible to set up a file for really large formats such as billboards or higher resolution print files above 300 DPI. The maximum file size in Canva is 83.328” x 83.328”.
Don’t use Canva for:
Billboards
Large signage
Storefront displays
Lengthy catalogs that need to pull data from spreadsheets
Anything where you need a Pantone spot color or exact brand color match in a printed piece
3. Don’t use Canva to find fonts or colors to “mix things up.”
Stick with your recommended brand fonts and colors in your custom brand kit. Don’t go with whatever fonts or colors are in the free template on Canva you’re eyeing. Instead, swap those for the ones in your brand board. If you’re always changing up the colors or fonts in your graphics, signage, brochures, and marketing pieces, your brand will look amateur and chaotic.

Conclusion
Today, design tools have become more accessible than ever. Canva leads the pack, but there are a bunch of other options like Visme, Stencil, and PicMonkey.
Some traditionalists used to scoff at these tools, but hey, every tool has its time and place! At our agency, we swear by custom design, but we won't deny the usefulness of Canva for implementing those unique brand assets.
We've laid out seven good reasons for using Canva, plus three big no-no’s for your business. Remember, these tools are handy, but they can't beat the magic of a personalized design that truly represents your brand.
Whether it's Canva or any of its buddies, pick what suits your style. Just keep your brand's uniqueness at the forefront while you design and create.
Let’s talk custom templates for your business!
After exploring how we utilize Canva for our clients, you might be inspired to envision how it could benefit your business. Schedule a free consultation with our Creative Director, Kathryn Joachim, to discuss your unique needs and how we can tailor Canva to fit your brand perfectly. We want to equip you with designs that are beautifully on brand AND effortless to implement!